Social media became one of the influence communication hub around us nowadays. Displaying our social media feeds into SharePoint intranet portal or a website became also highly demanded job.
In this article i will illustrate how to get any twitter account’s tweets and display them into your SharePoint portal step by step.
Let’s get started!
- Step 1 – Create Twitter Application
The new version of twitter API 1.1 is requiring some sort of authentication keys to be able to use these APIs across your application code-behind. To do so, follow these steps
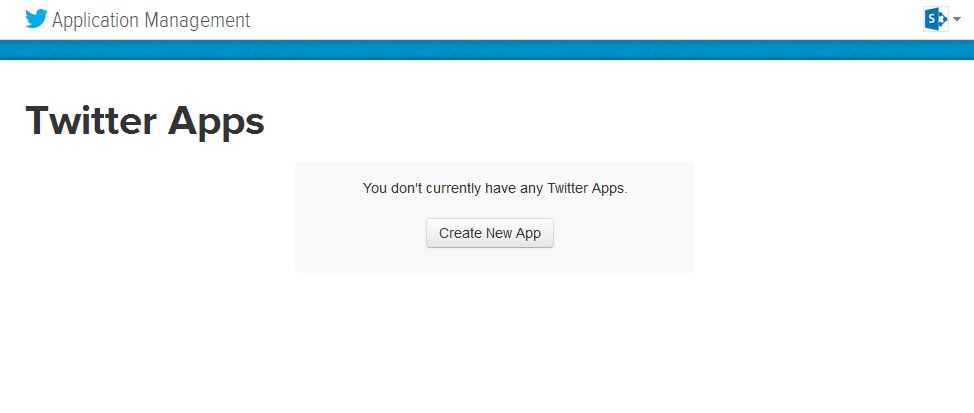
- Navigate to twitter application management page at this link
- Log in using any valid twitter account

- Click “Create New App”

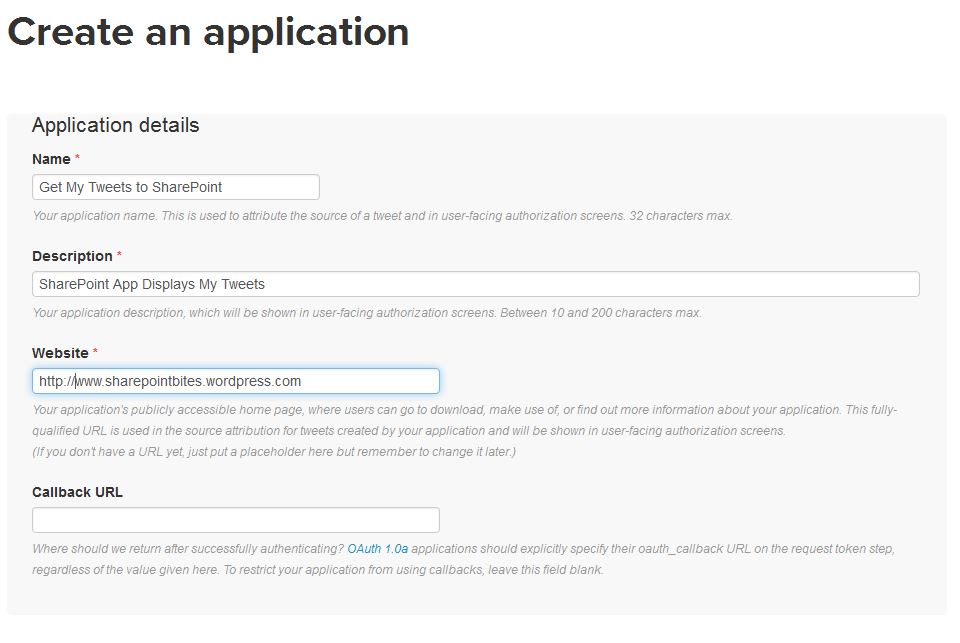
- Fill all required information, accept application developer rules and click “Create your Twitter application” – Notice that you have to use http at “Website” field.
- At this point your application has been created successfully
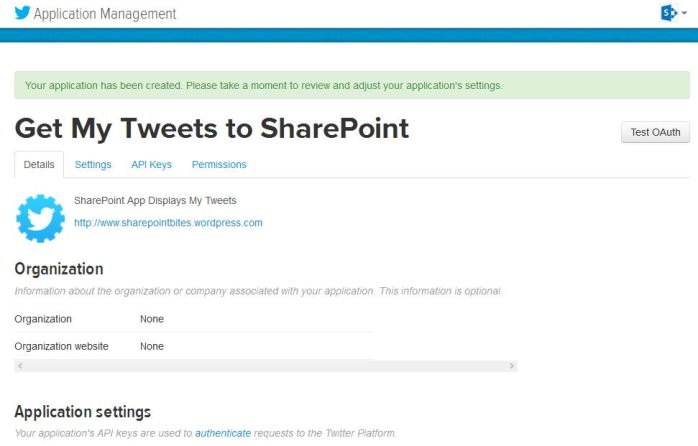
- Click “API Keys” tab
- You will notice at the top of this page two generated keys as follow : API Key – API Secret
- Two more keys still required to be generated: Access token – Access token secret.
- Scroll down to the end of the page to find “Generate my access token” button, click the button to get access token keys
- Copy the four keys to a notepad to use them in your SharePoint web part.

Step 2 – Create SharePoint Project
Now let’s move to SharePoint side, for all SharePoint developers completing this step is not a big deal, so i will skip illustrating how to add new visual web part to a SharePoint project using Visual Studio (2012 – 2013). Screen shot below shows a SharePoint project has a visual web part added for displaying twitter tweets.

Step 3 – Install Twitter Package using Visual Studio Package Manager Console
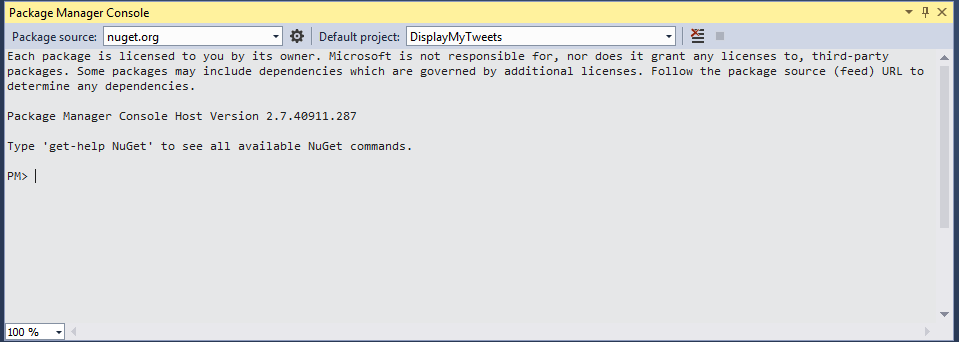
Install Twitter package to add TweetSharp.dll (free library for Twitter API) to SharePoint project using “Visual Studio Package Manager Console (PM)”
- In visual studio open “Tools” menu then select “Library Package Manager” then “Package Manager Console”

- In PM console select nuget.org as source and your default project name to install the package into this project.

- Get twitter package by writing the following command “Get-Package -Filter Twitter -ListAvailable”

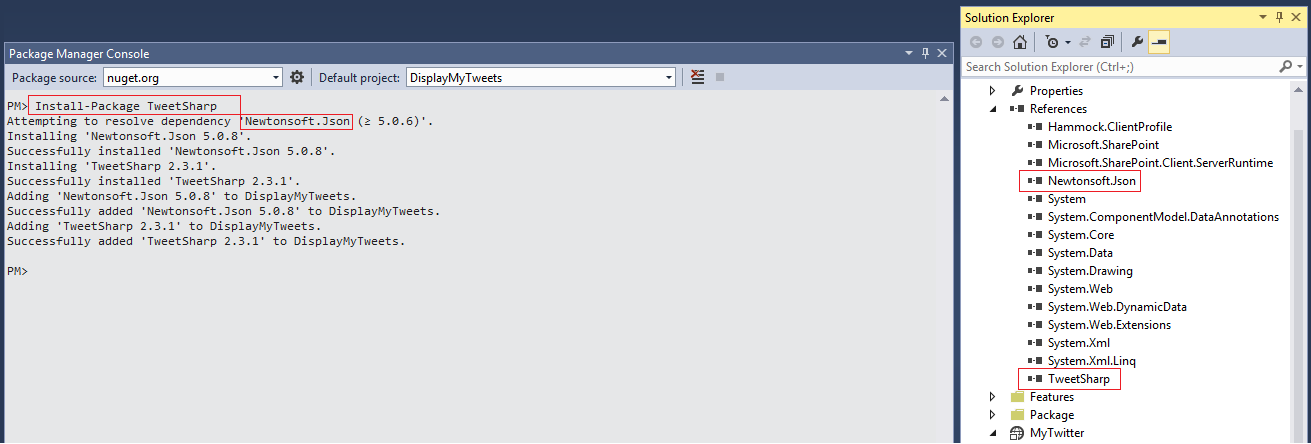
- Across all this big list or available packages having the name “Twitter”, select “TweetSharp” package to install by typing the following command “Install-Package TweetSharp”. During the installation, you will notice that the PM is adding some dependencies to your project references which is “Newtonsoft.Json” library, awesome!


Step 4 – Add a New SharePoint Web Part
Now, our SharePoint project is ready to add TweetSharp library reference. Start adding all required controls and code-behind to retrieve Twitter tweets.
- In markup file add the following controls
<asp:Label ID="lblTwitter" runat="server" Text="Display My Tweets" Font-Bold="true"></asp:Label>
<br />
<asp:Repeater ID="rptTweets" runat="server">
    <ItemTemplate>
        <div style="border:solid 1px">
        <asp:Label ID="lblTweetTime" runat="server" Text='<%#Eval("Created") %>'></asp:Label>
        <br />
        <asp:Literal ID="ltrTweet" runat="server" Text='<%#Eval("Text") %>'></asp:Literal>
        </div>
        <br />
    </ItemTemplate>
</asp:Repeater>
- In code-behind add the following code snippet (C#)
 protected void Page_Load(object sender, EventArgs e)
 {
 //set all API keys required to authenticate Twitter web service
 string APIKey = "[your key goes here]";
 string APISecret = "[your key goes here]";
 string accessToken = "[your key goes here]";
 string accessTokenSecret = "[your key goes here]";

 //call twitter service
 TwitterService tService = new TwitterService(APIKey, APISecret);
 tService.AuthenticateWith(accessToken, accessTokenSecret);

 //set variable to get tweets collection
 //note that you can change account name and number or tweets - 200 tweets max
 var tweets = tService.ListTweetsOnUserTimeline(new ListTweetsOnUserTimelineOptions { ScreenName = "asaid_moussa", Count = 5 });
 //create a data table to save tweets
 DataTable dtTweets = new DataTable();
 dtTweets.Clear();
 dtTweets.Columns.Add("Created");
 dtTweets.Columns.Add("Text");

 foreach (var tweet in tweets)
 {
 DataRow row = dtTweets.NewRow();
 row["Created"] = tweet.CreatedDate;
 row["Text"] = tweet.Text;
 dtTweets.Rows.Add(row);
 }

 //bind tweets data table to repeater
 rptTweets.DataSource = dtTweets;
 rptTweets.DataBind();
 }
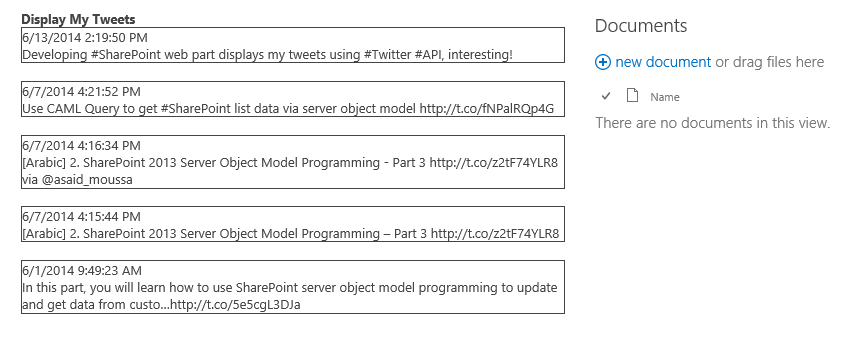
- Build your project then deploy the web part to add it to the SharePoint page, GREAT!
Note: Don’t forget to add “TweetSharp.dll” and “Newtonsoft.Json.dll” to your bin directory.
You can also add update panel and Timer to update your tweets on a frequent time bases.
Enjoy this SharePoint-Twitter bite!
